How to Do a Heart-Shaped Cake?
Creating a heart-shaped cake is a delightful way to express love, whether for Valentine’s Day, an anniversary, or just because. This guide will take you step by step through the process, from gathering the essential tools to shaping and decorating your masterpiece. Whether you’re a seasoned baker or a beginner, this article covers everything you need to know to make a perfectly charming heart-shaped cake.
Let’s dive in, starting with the tools and ingredients you’ll need.
Essential Tools and Ingredients for a Heart-Shaped Cake
Essential Baking Tools
Before you start baking, ensure you’ve got the right tools on hand. A heart-shaped mold is convenient, but you can also achieve the shape using a round pan and a square pan. For precise results, make sure you have:
- Heart-shaped baking mold: Ideal for quick shaping without cutting.
- Round and square pans: A great alternative for DIY heart cakes.
- Mixing bowls of various sizes for preparing batter and frosting.
- Silicone spatulas for easy scraping and mixing.
- Piping bags and tips for decorating.
- Cooling racks to prevent your cake from getting soggy underneath.
Key Ingredients
The foundation of a great cake lies in the quality of its ingredients. Stock up on these essentials:
- Basic ingredients: Flour, sugar, eggs, butter (or a substitute), baking powder, and milk.
- Flavor enhancers: Vanilla extract, cocoa powder, or food coloring for a vibrant red velvet cake.
- Frosting essentials: Buttercream, whipped cream, or fondant, depending on your preference.
- Optional decorative items: Sprinkles, edible glitter, and fondant shapes for a personalized touch.
Pro Tip:
Choose fresh, high-quality ingredients. They can make a world of difference in the texture and taste of your cake!
Preparing the Cake Batter and Choosing the Recipe
Simple Vanilla and Chocolate Cake Recipes for Beginners
To begin your heart-shaped cake journey, you need a reliable recipe. Vanilla and chocolate cakes are classic choices that everyone loves. For a fluffy vanilla base, mix flour, sugar, baking powder, and a pinch of salt in one bowl. In another, whisk eggs, milk, melted butter, and vanilla extract. Gradually combine the wet and dry ingredients until smooth.
For a decadent chocolate cake, simply replace part of the flour with cocoa powder and add melted dark chocolate for a richer flavor. Both recipes are simple, making them ideal for beginners!
Adjusting Recipes for Special Flavors
Want something more unique? Try a red velvet cake for that dramatic touch. Add a tablespoon of cocoa powder and red food coloring to a basic vanilla recipe. Prefer something lighter? Go for a citrus-infused lemon cake by incorporating lemon zest and juice.
For dietary needs, substitute flour with almond or gluten-free flour and use plant-based milk and oil instead of butter. This way, everyone can enjoy your creation.
Tips for Moist and Even Cake Texture
Getting a perfectly moist cake is key to a stunning heart-shaped cake. Always sift the flour to avoid clumps and achieve an airy texture. Balance your wet and dry ingredients—too much liquid makes the cake dense, while too little can dry it out.
And don’t forget: preheat your oven! A consistent temperature ensures your cake bakes evenly, giving you a sturdy base for shaping later.
Shaping the Heart-Shaped Cake

Using a Heart-Shaped Mold
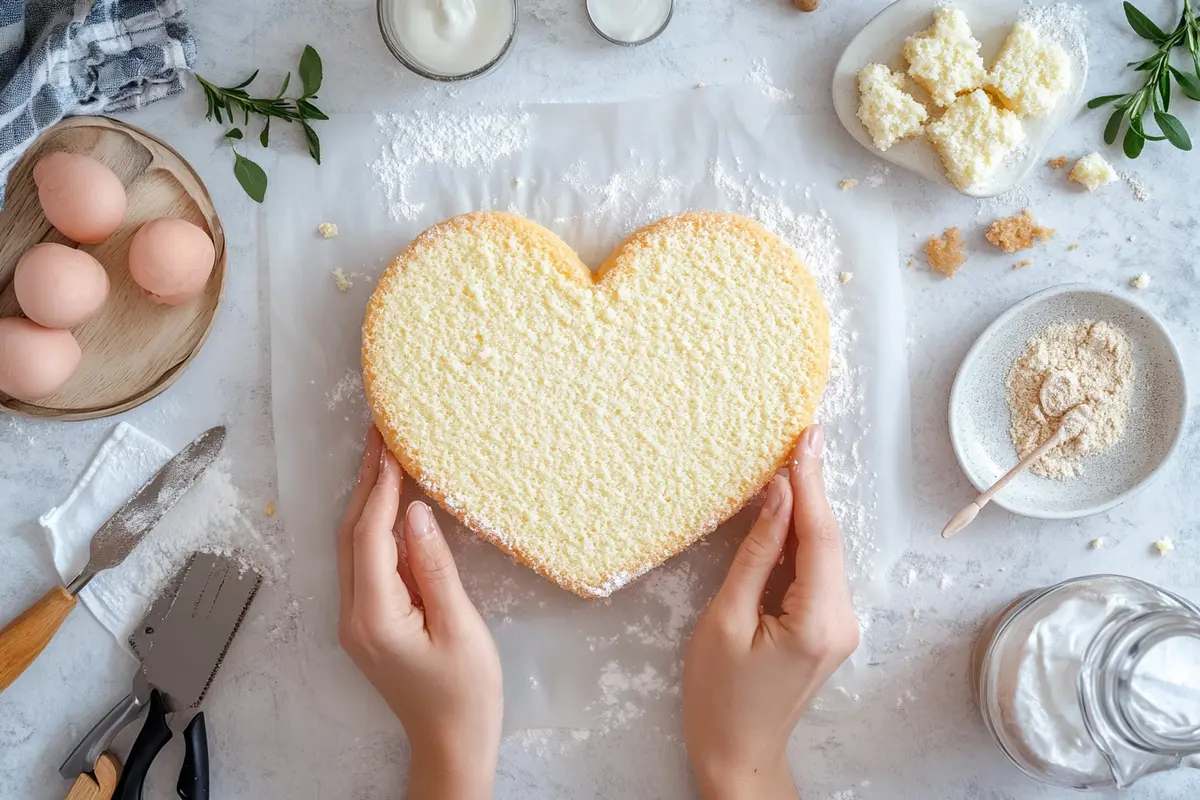
A heart-shaped mold is your quickest route to success. To prevent sticking, generously grease the mold with butter or spray and line it with parchment paper. Pour the batter into the mold, leaving a little room for it to rise.
Bake according to your recipe’s instructions, and once done, let the cake cool for about 10 minutes. Carefully turn it onto a wire rack and peel off the parchment for a flawless base.
Making a Heart Cake Without a Mold
If you don’t have a heart-shaped mold, don’t worry! You can easily make one using a round pan and a square pan. Here’s how:
- Bake one cake in a round pan and another in a square pan.
- Cut the round cake in half and align the flat edges with two adjacent sides of the square cake.
- Use a bit of frosting to “glue” the pieces together.
This method is a fun DIY approach that lets you shape your cake with creativity.
Securing the Structure with Frosting
After assembling your heart shape, apply a thin crumb coat of frosting to hold everything together. This layer acts as a foundation, locking in crumbs and creating a smooth surface for decorating later.
Frosting and Decorating the Cake

Preparing Smooth and Flawless Frosting Layers
When it comes to frosting your heart-shaped cake, preparation is everything. Begin by applying a thin crumb coat to seal in any loose crumbs. This layer not only helps create a smooth surface but also prevents crumbs from mixing into your final frosting layer. Chill the cake for 15–20 minutes to set the crumb coat before moving on.
For a polished look, use an angled spatula to evenly spread frosting over the entire cake. Keep a bowl of warm water nearby to clean the spatula as you work, ensuring a smooth finish.
Creative Decorating Ideas
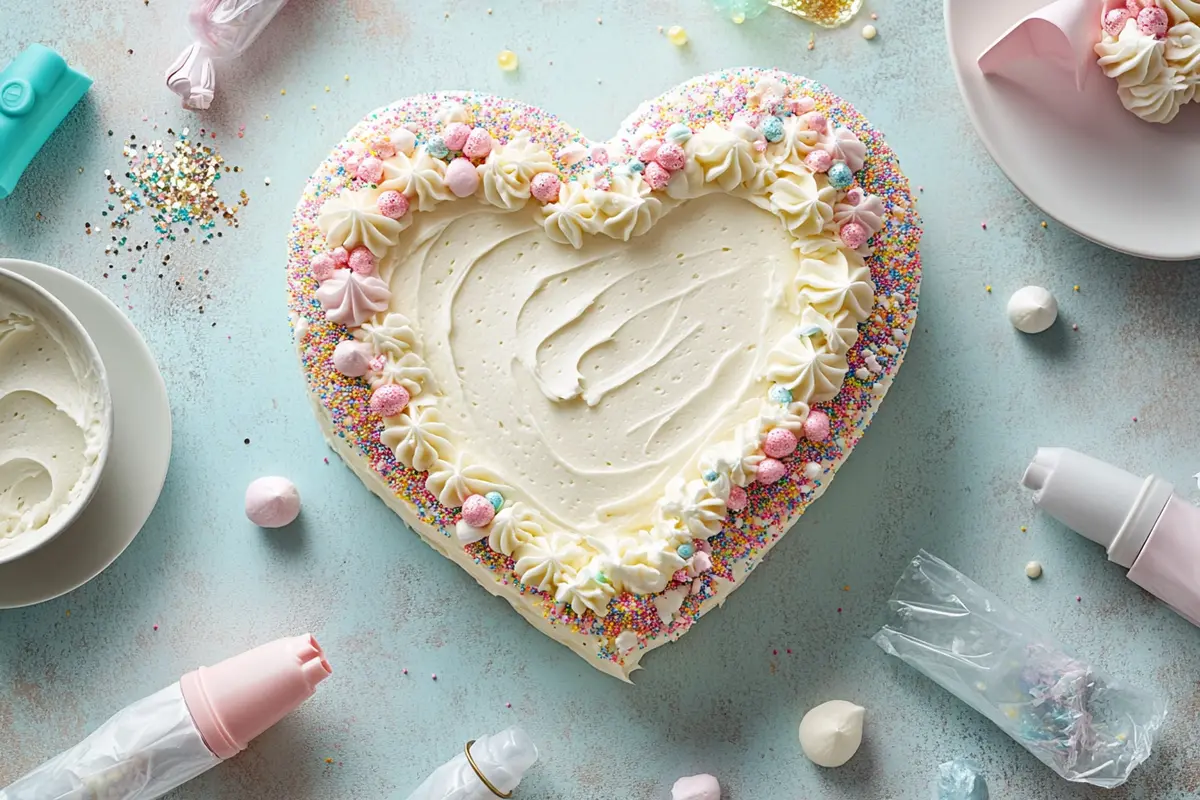
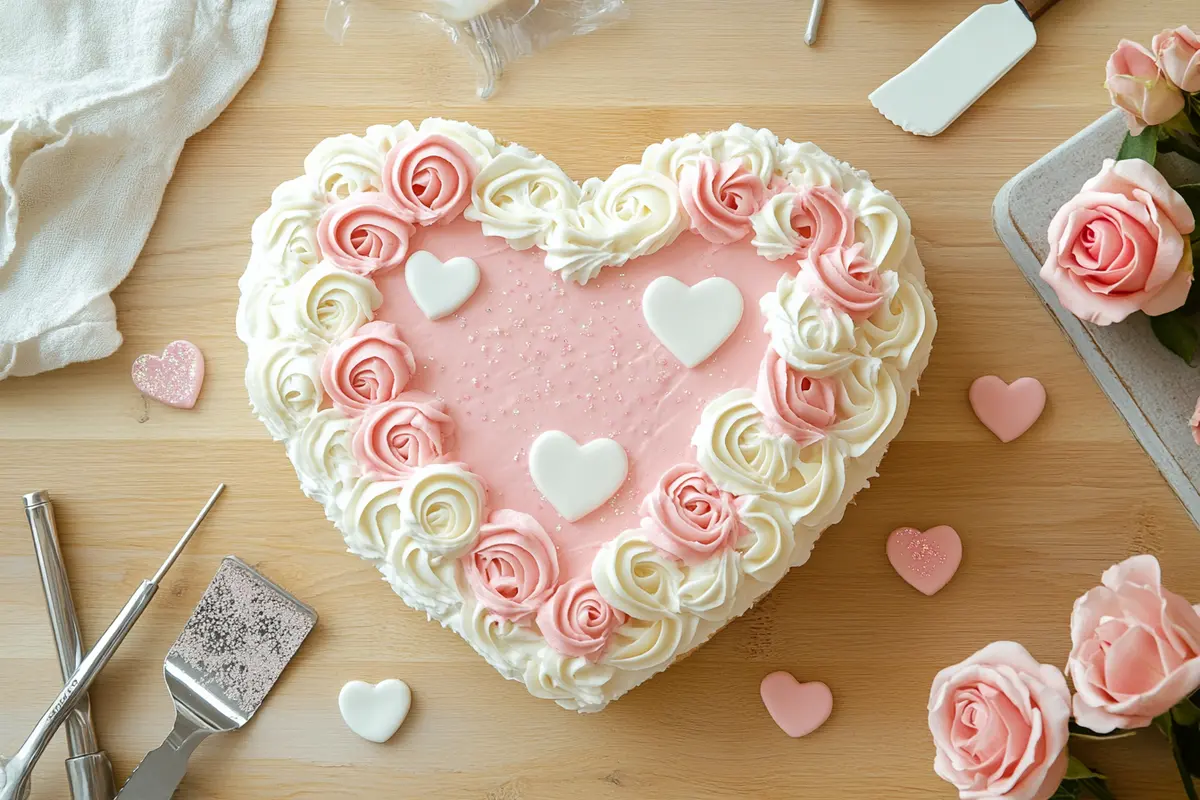
Now comes the fun part—decorating your cake! Use a piping bag with decorative tips to create borders, roses, or stars. Add texture with a fork or cake comb, or keep it sleek with a smooth finish.
For a touch of elegance, sprinkle edible glitter or place fondant hearts on the surface. Personalize the design by piping a heartfelt message in contrasting colors. Whether you go for a minimalist style or an elaborate design, let your creativity shine!
Theme-Based Decorating Suggestions
Depending on the occasion, adjust the decorations to fit the theme. For Valentine’s Day, opt for pink and red tones with heart-shaped sprinkles. Planning a wedding? Stick to a white and gold palette with delicate fondant flowers. The possibilities are endless when it comes to personalizing your heart-shaped cake.
For more cake inspiration, check out this Heart cake on Deluxe Recipes!
Serving and Storing the Cake
Tips for Perfect Slicing
Slicing a heart-shaped cake can be tricky, but with a little finesse, you can achieve clean, even pieces. Warm your knife under hot water, then dry it before cutting. This technique prevents frosting from sticking to the blade and gives your slices a neat appearance.
For serving, consider pairing your cake with fresh berries or a scoop of vanilla ice cream. These extras elevate the presentation and enhance the flavors of your cake.
Storing the Cake
If you have leftovers (though it’s unlikely with a cake this good!), store your cake properly to keep it fresh. For short-term storage, cover it with plastic wrap and refrigerate for up to three days. If you’re planning to save it longer, wrap the cake tightly in foil and freeze it. Remember to let it thaw at room temperature before serving to preserve its texture and flavor.
With your cake beautifully frosted and perfectly sliced, you’re ready to share your love-filled creation. Stay tuned for Part 6, where we’ll tackle common baking challenges and their solutions!
Troubleshooting Common Issues
Cake Stuck to the Mold
One of the most common issues when baking a heart-shaped cake is having it stick to the mold. To prevent this, always grease your pan thoroughly with butter or cooking spray, and line the bottom with parchment paper. If the cake still sticks, place the pan on a wet towel for a few minutes. This helps release the cake without damaging its shape.
Uneven Cake Layers
If your cake bakes unevenly, don’t fret—it’s a fixable issue! Use a serrated knife to trim the top of the cake to make it level. For future bakes, ensure your oven temperature is accurate and avoid overmixing the batter. Proper mixing prevents air bubbles that can cause uneven baking.
Frosting Melts or Slips
Warm weather can wreak havoc on frosting, causing it to melt or slide off the cake. To combat this, chill the cake after applying the crumb coat, and keep the frosting slightly thick to help it hold its shape. Avoid overworking buttercream, as this can make it too soft.
Pro Tip:
If you’re ever in doubt during the process, remember to take your time. Patience is key when learning how to do a heart-shaped cake the right way!
FAQs
How Do You Make a Heart Cake Without a Mold?
Making a heart-shaped cake without a mold is simpler than you might think. Start by baking one cake in a round pan and another in a square pan. Cut the round cake in half and place the flat edges against two adjacent sides of the square cake. This creates the heart shape. Frost the seams to hold everything together, and voila—you’ve got a homemade heart-shaped cake!
What Is the Best Frosting for a Heart-Shaped Cake?
The best frosting depends on your flavor preferences. Buttercream is the most versatile and easy to work with, offering a creamy finish that pairs well with most cakes. For a lighter option, try whipped cream frosting. If you’re aiming for a sleek and professional look, fondant is your best bet.
Can You Make a Vegan or Gluten-Free Heart Cake?
Absolutely! Replace regular flour with a gluten-free blend, and swap butter and eggs with plant-based alternatives like coconut oil and flaxseed. Ensure your frosting is vegan-friendly by using dairy-free milk and margarine. These substitutions ensure your cake is inclusive without compromising on taste.
How Do You Prevent a Heart Cake from Falling Apart?
Structural integrity is key when shaping a heart cake. Always let the cake cool completely before cutting or frosting it. A crumb coat helps hold the layers together, while chilling the cake between steps ensures stability.
Final Thought:
Learning how to do a heart-shaped cake is a rewarding experience, whether you’re baking for a special occasion or just for fun. With these tips and tricks, you’re now equipped to create a cake that’s as beautiful as it is delicious!
Advanced Decorating Techniques for Heart-Shaped Cakes
Using Edible Toppings for Unique Designs
If you want to take your heart-shaped cake to the next level, experimenting with edible decorations is a must. Sprinkle the top with crushed nuts, shredded coconut, or even edible flowers for a rustic yet elegant look. Adding fruit slices, like strawberries or raspberries, can enhance both the flavor and visual appeal.
For a festive feel, try dusting powdered sugar or cocoa powder over a stencil placed on top of the cake. This creates intricate patterns with minimal effort, making your cake look like it came from a bakery.
Layering and Texturing Techniques
Adding layers can make your cake stand out even more. Split the cake horizontally and spread a filling between the layers. Cream cheese, ganache, or fruit preserves work wonderfully here.
To add texture, try using a cake comb on the frosting. Another technique is to use two-toned frosting: pipe alternating colors side by side and smooth them out for an ombré effect. These small touches make your cake uniquely yours and show off your baking skills.
Pro Tip:
When learning how to do a heart-shaped cake, always focus on personal touches. Simple additions like a handwritten message or a themed color palette can make your cake memorable.
Sharing and Gifting Your Heart-Shaped Cake
Creative Ways to Present Your Cake
Presentation is everything! Serve your heart-shaped cake on a decorative platter or cake stand to highlight its charm. Wrap the edges of the platter with a ribbon or decorate the surrounding area with fresh flowers or candles for added ambiance.
If you’re gifting the cake, consider placing it in a custom cake box with a clear top. Adding a personalized note or tag will make your gift even more special.
Tips for Traveling with the Cake
Transporting a heart-shaped cake can be tricky, but with the right preparation, it’ll arrive intact. Chill the cake before traveling, as this helps the frosting set and prevents smudging. Use a sturdy cake carrier, and place non-slip material underneath to keep it stable.
If the journey is long, carry a small emergency kit with extra frosting, a spatula, and a cake knife for last-minute touch-ups. This way, your cake will look flawless when it’s time to serve or gift it.
Conclusion:
Creating a heart-shaped cake is more than just baking—it’s an expression of love and creativity. From choosing the right tools and perfecting the recipe to decorating and presenting your masterpiece, each step is a labor of love. Whether you’re crafting a simple vanilla cake or experimenting with advanced decorating techniques, the joy of sharing your creation makes it all worthwhile. With these tips, you’re now equipped to master how to do a heart-shaped cake for any special occasion. So, roll up your sleeves, gather your ingredients, and let your creativity shine. Your heartfelt cake will surely leave a lasting impression!

